I’ve got Mamiya super 23 with Sekor 10mm f3.5 lens.
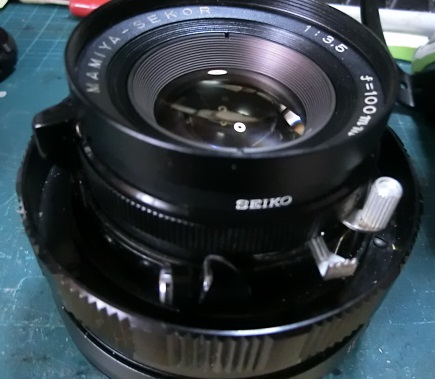
Lens optics is good, clear and beautiful.
However, low shutter was not accurate. i.e. 1 sec shutter seems 2 sec and 0.5 sec shutter seems 1 sec.
Therefore, as records and reference to others, I will introduce maintenance of the lens.
Basic step
- Disassembly
- Put oil
Assumption:
Needs some skill using screwdriver, handling parts.
Tools:
1) lens spanner wrench
2) small screwdriver set
3) Pen light
4) Lens cleaner
5) Oil
6) Air duster
7) Camera
It is recommended to record every step by degital camera to trackback the operation.
1.Disassebmly
- Take away front ring by spanner wrench. Do not damage lens. This operations are not necessary, if I remember correctly. Go to step 2.
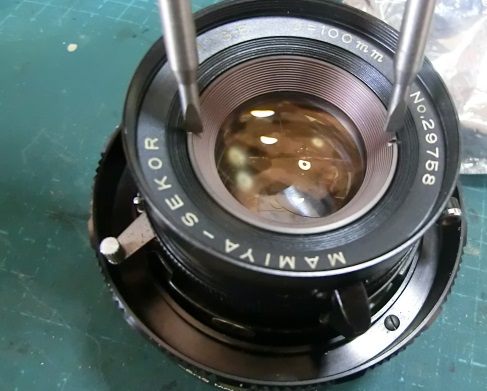
2. Take away front part. Just rotage counterclock-wise.
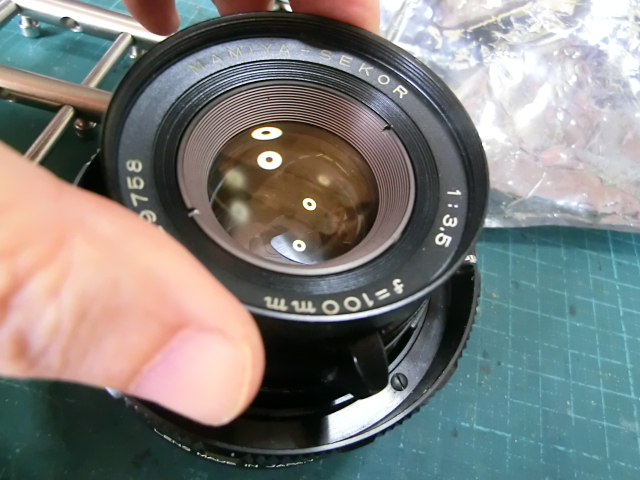
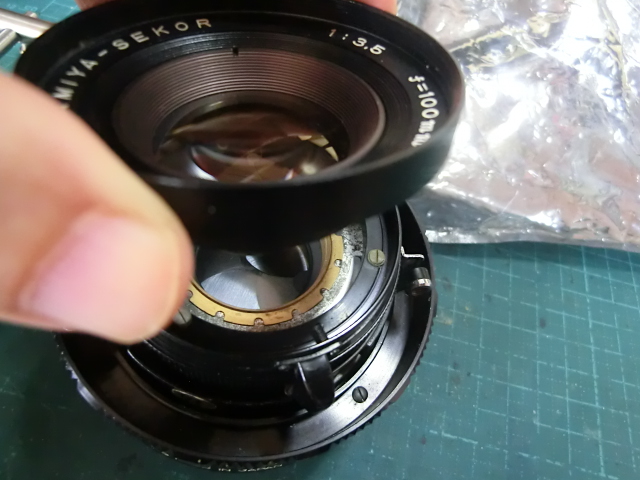
3. Unscrew 3 screw to take away black parts.
Put red mark as necessary to match position when assembly.
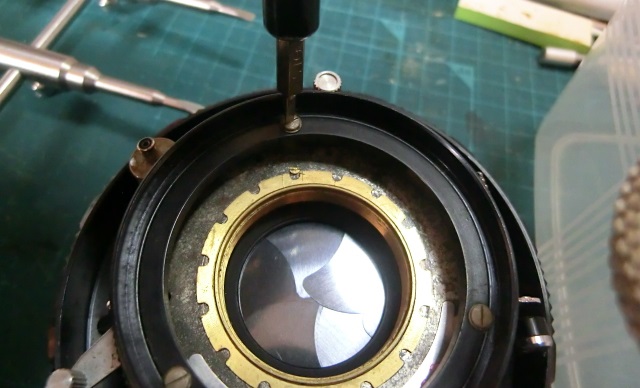
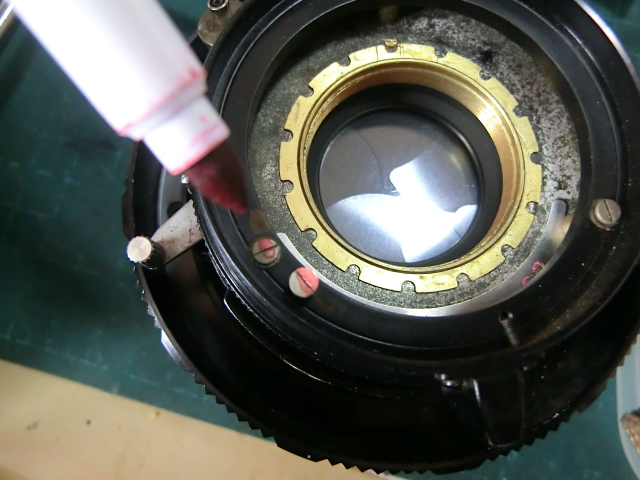
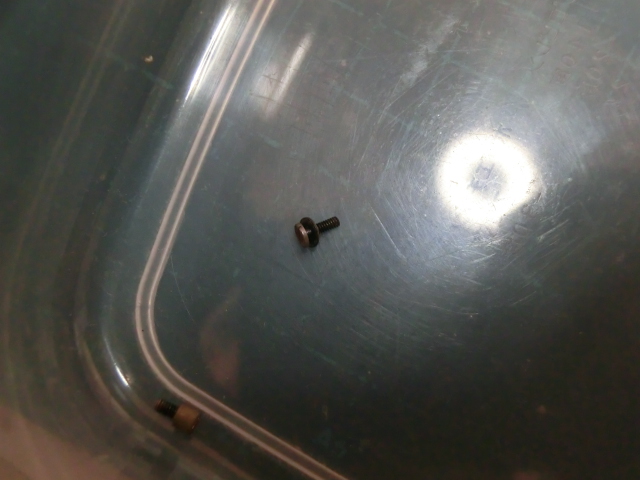
There are screw and washer. Do not miss the washer.
4. Take away rim
You can do this operations before step 3. The rim is obstacle to take away inner parts.
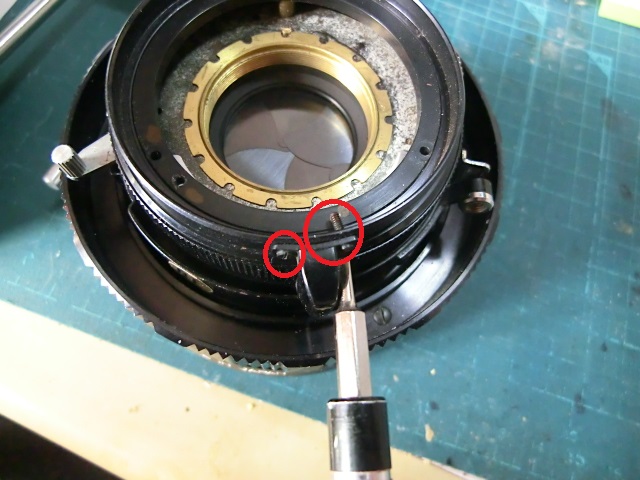
After taking two above screws, you can take away the rim.
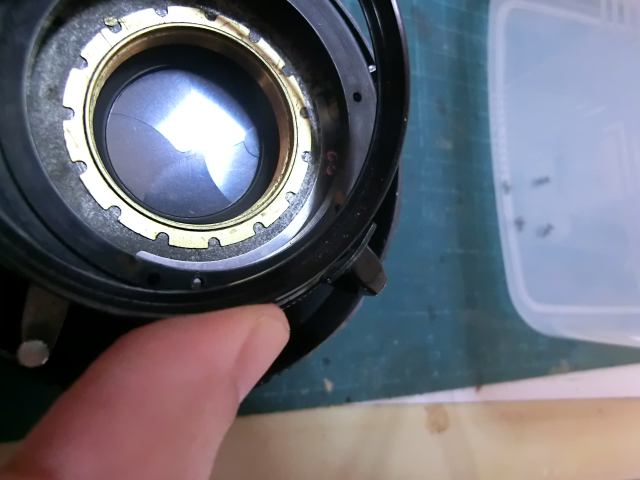
5. Take away inside black circular plate.
Make sure to put marks for assembly later.
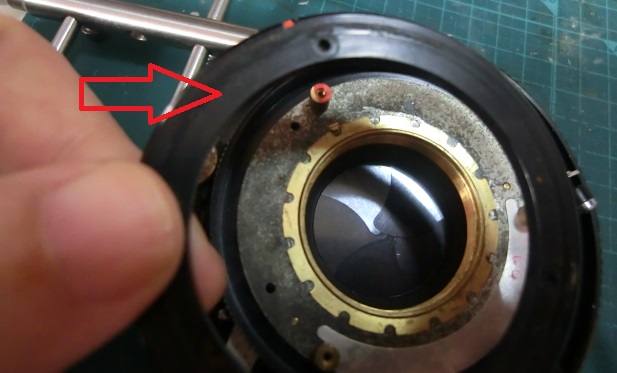
6. Take way Silver plate.
You may need to use flat screw driver to take she Silver plare.
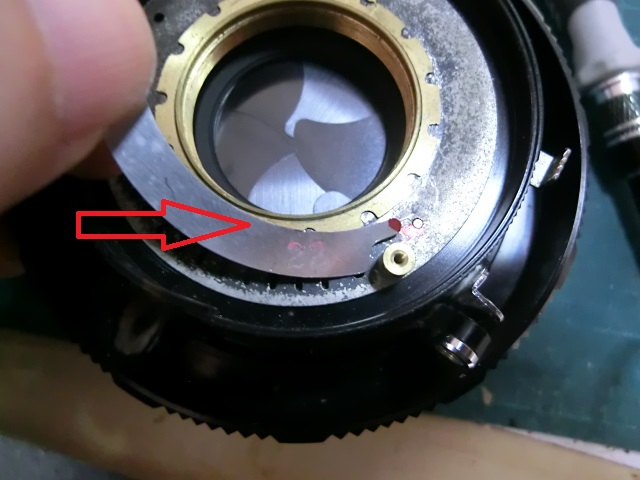
7.Unscrew a screw that stops gold ring as obstacle.
You can see the screw is just position to stop the rotation of the gold ring. The screw head is not circular.
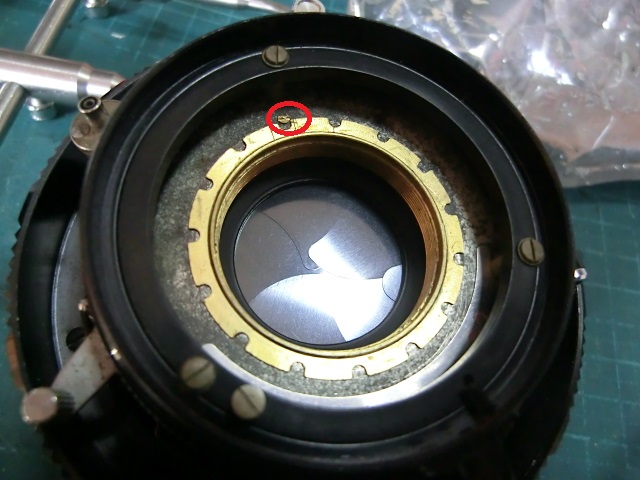
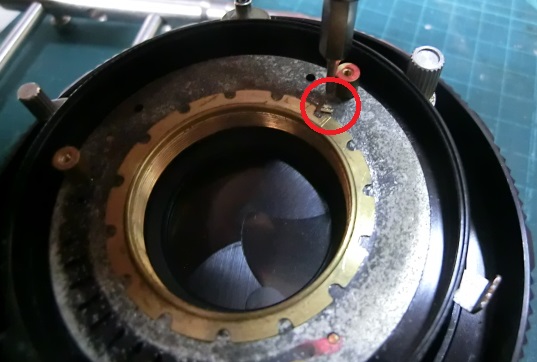
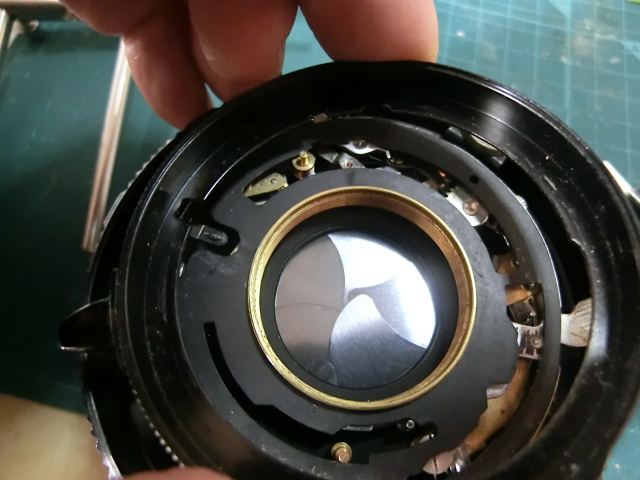
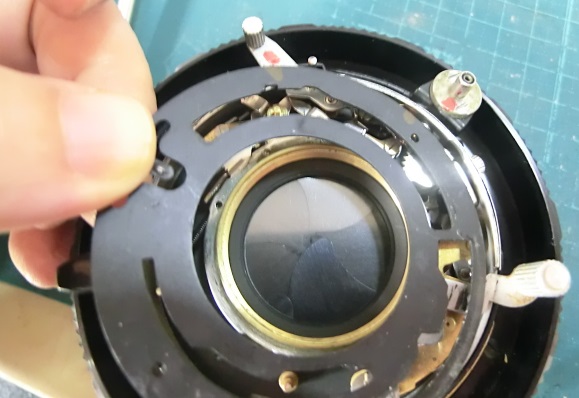
8. Rotate gold plate by tip of screw driver.
The plate holds the intenal parts.
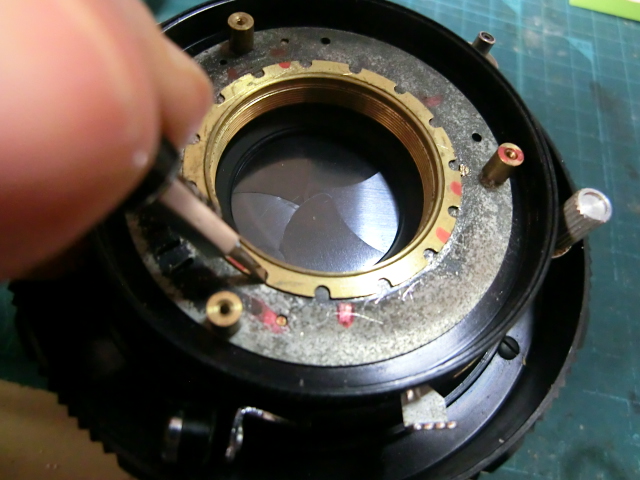
You can see the half of circular screw as obstacle not to totate the ring. This is rotating position not obstacle to the ring.
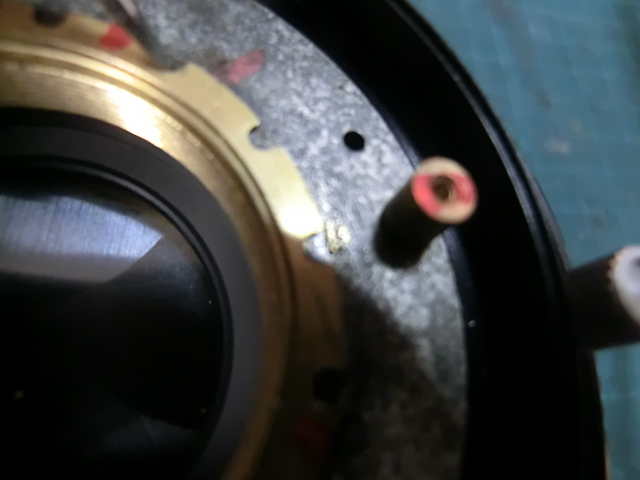
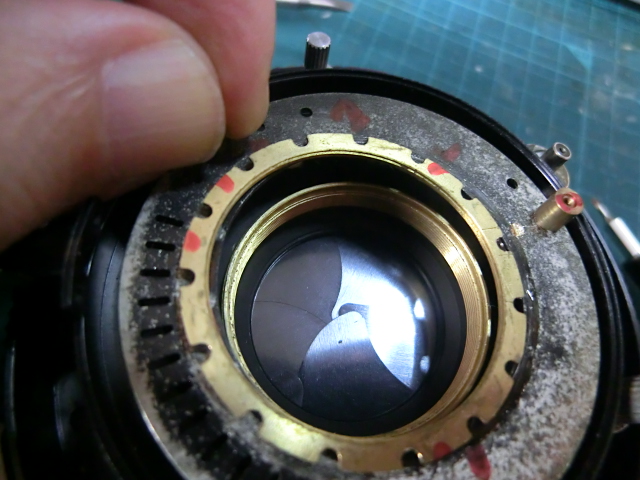
9. Take away rim & black plate.
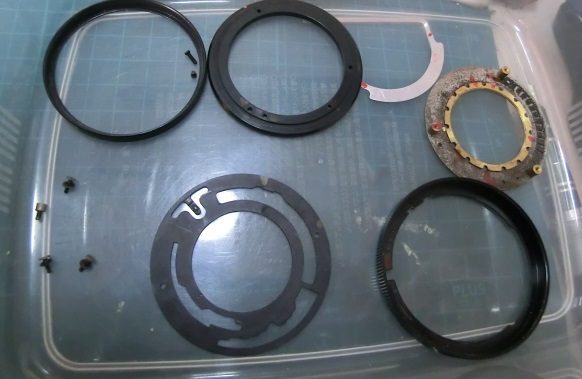
10. Parts arranement. (Refference)
I usually use box not to miss the small part.
Several time dropping very small parts then I could not find them again…
I put parts clockwise so it is easier for assembly again^^
2.Put oil
1.Oiling
Generally,we need to obseve the parts carefully to understand mechanism.
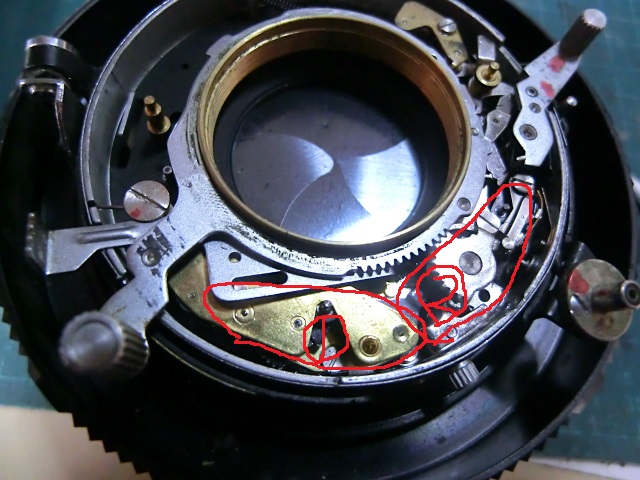
Be careful, ther is a spring attached to the left circle location. It is easy to take off from the connect position. It is difficult to reconnection after disconnect.
Try not to disconnect by carefully touch when operating shutter charge lever, right upper red circle,to understand the mechanism.
It can be easily disconnect parts right bottom circle. For reconnection, left screw needs to be unscrew and screw it again. A little difficult operaion.
It may provide better situation if you pay attention not to take any lever and spring since take off is not necessary.
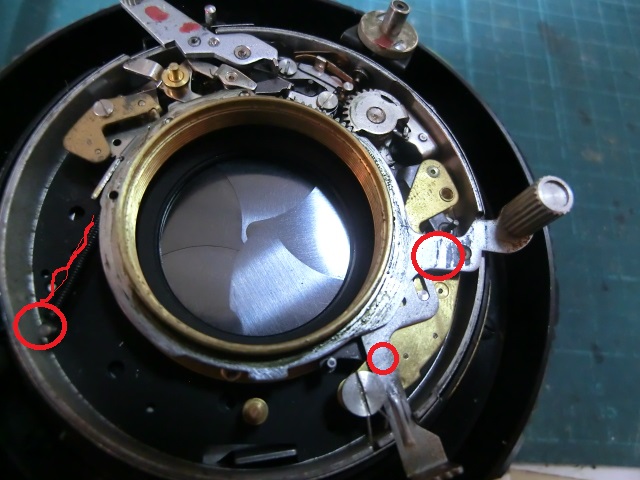
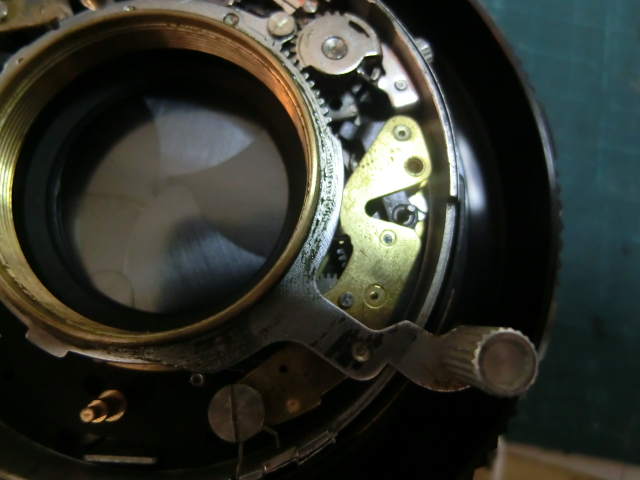
This is shutter charge position. Sine I’ve taken rim and plate already, it is easy to take off the lever.
I put oil both for circle 1 and 2. My insight is circle 1 is location where is more friction to slow shutter, but just in case, I put oil for circle 2 since the mechanism is linked.
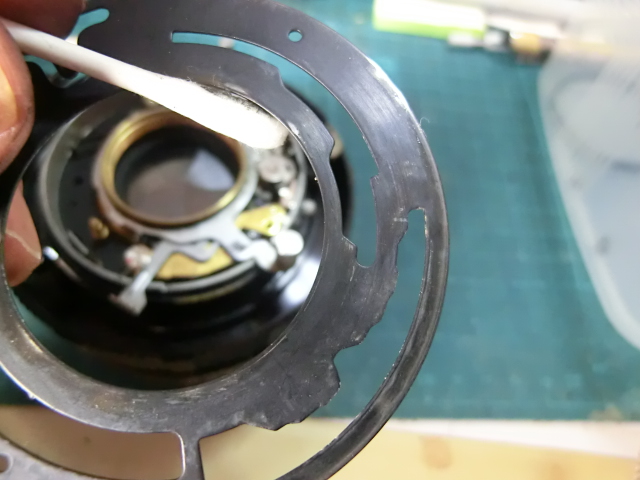
2. Other cleaning
Since there are dirsts on this plate, I cleaned it with cleaner since it may be another cause of the friction. The picture is after cleaning.
Summary
I’ve disassembled about 4 times. Then I feel I get used to this maintenance.
If necessary, I can clean aperture blade or lens, but this lens is clear.
I hope this info helps you.
I will write Super 23 view finder disassembly for clean them.
http://japangtrade.com/camera/2022/10/28/mamiya-super-23-viewfinder-cleaning/
I did not riview this article a lot, so if you have any quesions, suggestions, please let me know to improve. Thank you.
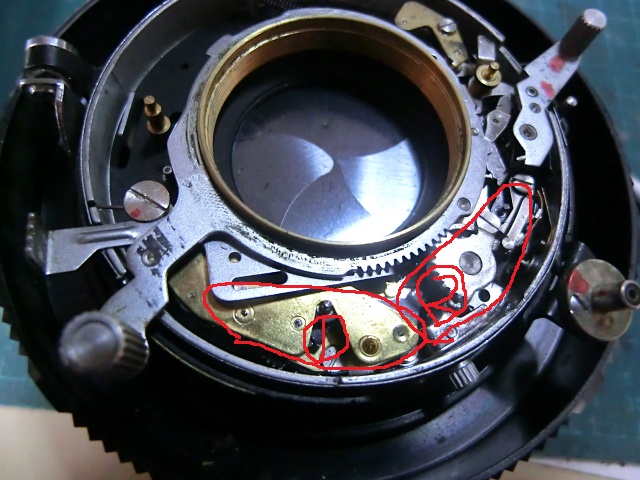
No comments yet.